
Quick Answer
The farm is a 15x15 tile grid split into six plots. Place your greenhouse and compost bin in a corner, line beehives along the edge nearest flowering crops, dedicate one full plot to fruit trees, and keep the centre plots for high-value rotating crops (pumpkin, watermelon) where the combine can reach them in one pass.
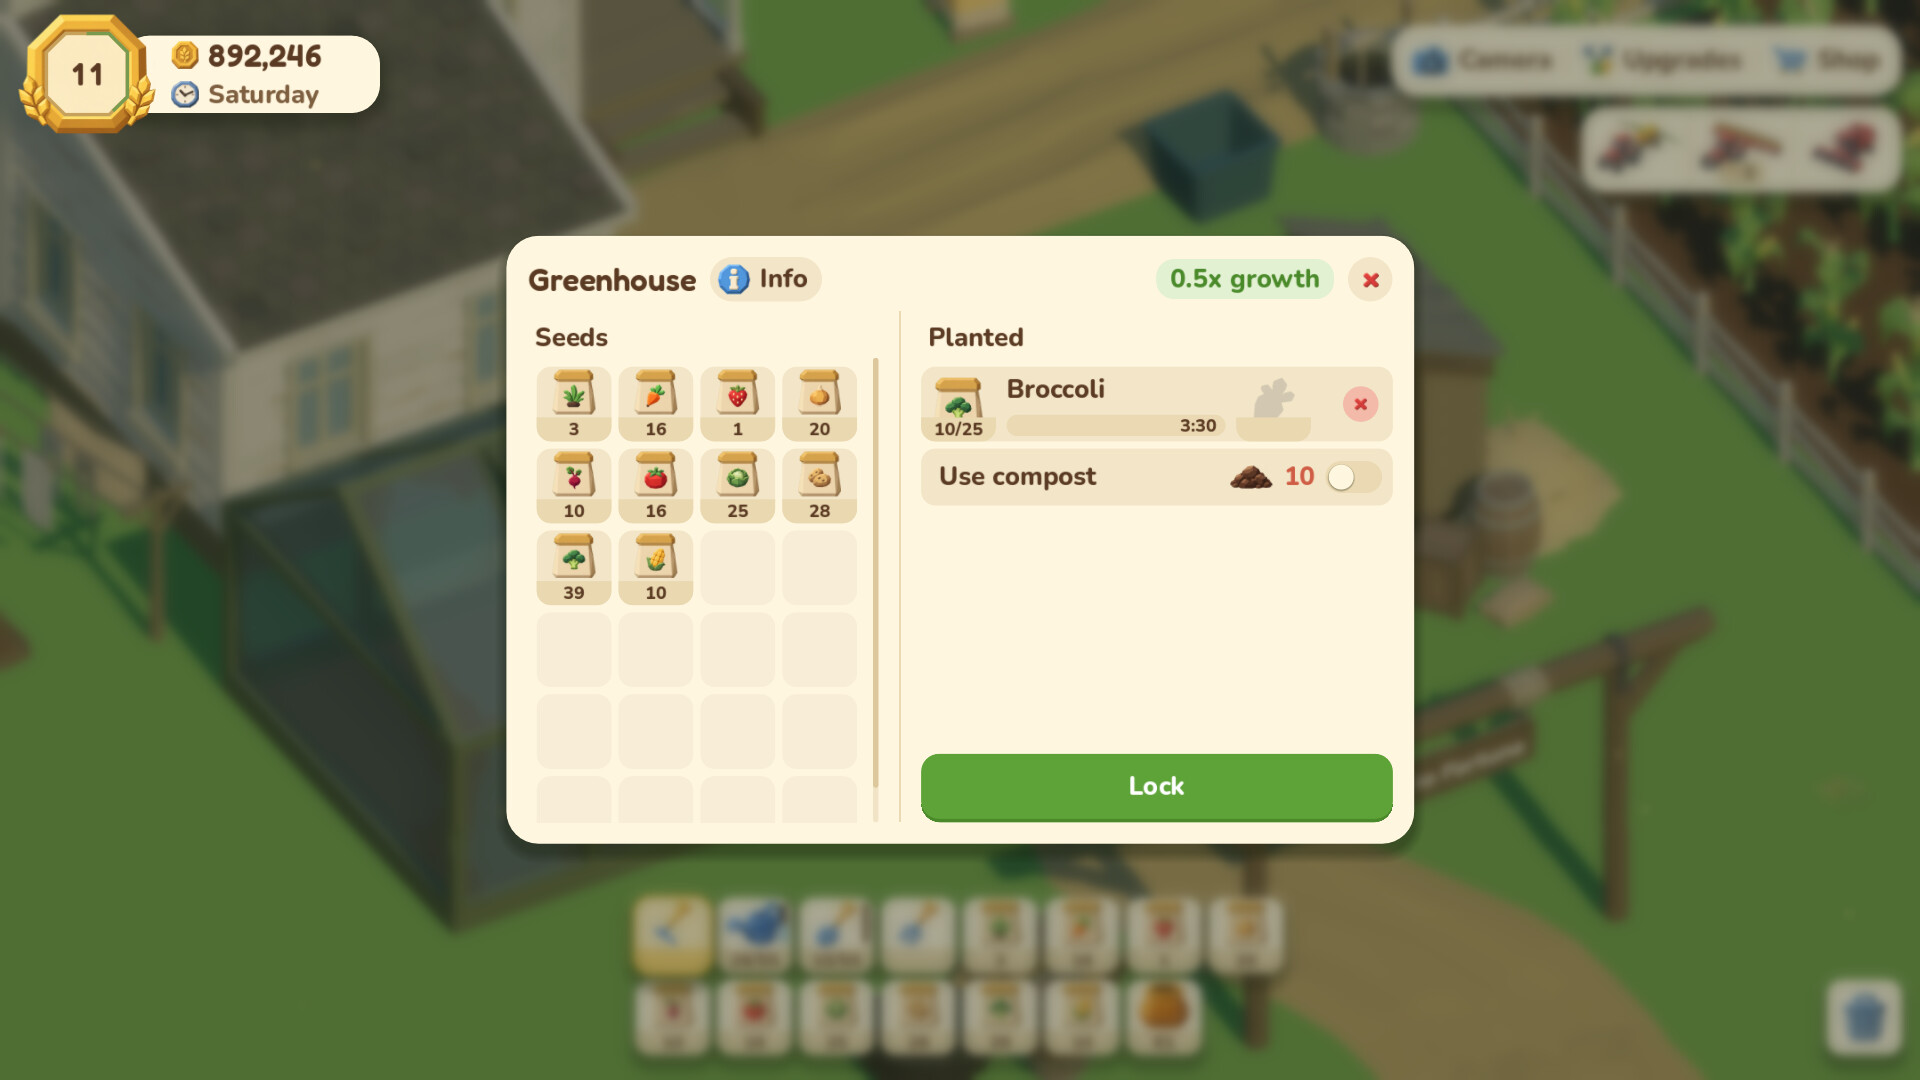 "Farm to Fortune screenshot showing the greenhouse and crop rows at dusk"
The 15x15 grid
Your farm starts as a single small plot inside a 15x15 tile grid. You unlock more plots as you buy them. Six plots cover the full grid — the achievement "Fenced In" confirms six plots, and "Landowner" confirms the full 15x15. Every tile holds one crop at a time.
Recommended layout by zone
Corners: infrastructure
Place the greenhouse and compost bin in opposite corners. The greenhouse is a fixed structure that grows one batch at a time — it doesn't need prime farmland. The compost bin benefits from being near your fields but doesn't occupy many tiles.
Edges: beehives and fruit trees
Line beehives along the edge closest to your flowering crops (strawberry, tomato, cucumber, squash). Bees pollinate nearby flowers, and the honey timer runs regardless of what you're doing elsewhere.
Dedicate one edge strip or corner plot to fruit trees (apple, cherry, pear, lemon). Trees produce passively and never need replanting, so they're ideal for tiles you don't want to micromanage.
Centre: rotating high-value crops
Keep the centre plots for pumpkin, watermelon, and sweetcorn. These are the crops where the combine machine earns its keep — one pass across a mature block harvests everything. Centre tiles are also the easiest to water and spread compost on efficiently.
Machine pathing
The seeder, spreader, and combine each cover a rectangular area per run. Design your plots in rectangles rather than L-shapes to maximise machine efficiency. A single combine pass over mature sweetcorn produces 20x Sweetcorn plus plant waste.
Contract truck access
The contract truck parks at the farm entrance. Don't block the path to it with permanent structures. You'll visit it every in-game morning.
Market stall placement
The market stall is where you sell everything. Place it near the entrance too, so you can dump your harvest immediately after a combine run without crossing the entire farm.
Sample layout for a six-plot farm
- Plot 1 (start): grass and carrot (fast turnaround)
- Plot 2: strawberry and onion (early mid-tier)
- Plot 3: tomato, cabbage, potato (mid-game core)
- Plot 4: sweetcorn (combine target)
- Plot 5: pumpkin and watermelon (late-game money)
- Plot 6 (corner): fruit trees + beehives + greenhouse + compost bin